Thanksgiving is a holiday loved by many. But more than a holiday, it’s a time to respond to God’s goodness. “Give thanks to the Lord, call upon his name, make known his deeds among the peoples, proclaim that his name is exalted. Sing praises to the Lord, for he has done gloriously; let this be made known in all the earth.” Isaiah 12:4-5
It’s a time to gather and share his grace and goodness. It’s a season of creating new memories. This time of year, more than any other, we meet around the table. We share our hearts, gratitude, and meals. Another way to form memories around the table is by making crafts with your children.
Throughout the years of our kids bringing home artwork, some of my favorites have been from the holidays, especially Thanksgiving. I love the many different ways to make and decorate a turkey, creating memorable centerpieces and place cards for our Thanksgiving dinner and doing it all while making memories with our kids.
Here are 6 Thanksgiving crafts to try with your kids:
1. Coffee Filter Turkeys
What you will need:
-Round white coffee filters
-Washable markers (brown, red, orange, and yellow)
-Wooden spring clothespins
-Assorted googly eyes
-Brown Craft Paint
-Glue gun and glue sticks
First, you will color your coffee filter with washable markers flattening it and using a variety of colors and patterns. Then you will spray the coffee filter with water; the colors will start to blend. Set aside to dry and begin the next step.
Next, paint your clothespin with brown craft paint. Once your coffee filter is dry, fold it in half and pin it into the middle of the half circle you’ve created. You can add googly eyes, a nose, and even a wattle if you'd like.
What I love about this craft is it can double as a name card on your Thanksgiving Place Setting. Simply add a name card to the clothespin along with the coffee filter and set it out on each plate.
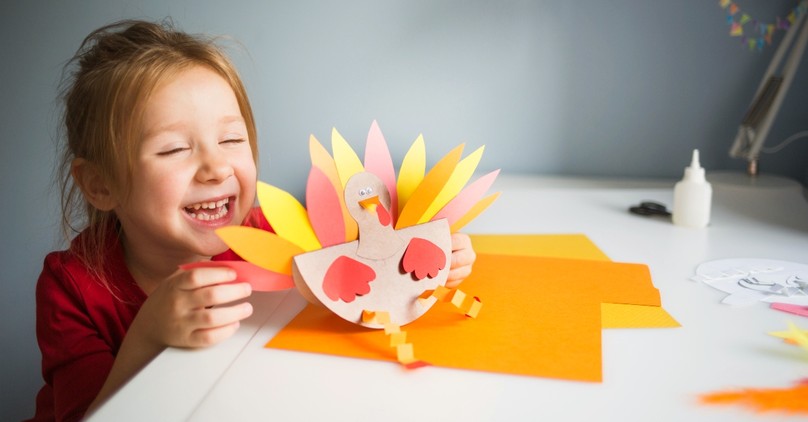
2. Paper Plate Turkey
What you will need:
-Paper plate
-Construction paper
-Googly eyes
-Any decorative items you would like for your turkey (feathers, cotton balls, etc.)
When our kids were younger, in the weeks leading up to Thanksgiving, they would come home from school with a paper turkey. Their assignment was to decorate and disguise this turkey in any way they would like. They could make it a baseball player, ballerina, gumball machine, etc. The more original, the better.
This craft is like that. Instead of having a printout of a turkey, you will make your turkey out of a paper plate and then decorate or disguise it as whatever you wish.
First, cut your paper plate in half. Then using a piece of construction paper, cut a circle that will be your turkey’s head. Glue this halfway down onto the cut side of the paper plate. Add your eyes, nose, and wattle.
For the fun part, decorate your paper plate any way you want! You could make it into a jersey, tutu, sprinkle glitter, or whatever you like. If you have a competitive family, you could turn this into a competition to see who can make the most creative turkey.
3. Toilet Paper Roll Pumpkin
What you will need:
-A roll of toilet paper
-A piece of fabric (think fall colored or patterned)
-Ribbon
-A short wooden stick or cinnamon stick
Lay your piece of fabric flat and set your toilet roll on top. You will pull one corner up to the top of the toilet paper roll and push it into the hole. You don’t want too much extra fabric, so feel free to cut it to the size you need. Continue to do this with each corner of the material until your toilet paper roll is completely covered.
Insert your stick into the center, further pushing down the fabric. What’s great about using a cinnamon stick is it also smells so good! Next, tie a ribbon around your stick, and you have a fun pumpkin. During the Thanksgiving season, it’s also a decorative way to display extra toilet paper in your bathroom.
4. Beaded Pipe Cleaner Corn
What you will need:
-Pipe cleaners (tan)
-Plastic pony beans (White, orange, yellow, brown, red)
Grab four pipe cleaners being sure they line up evenly. Twist them together in the middle. Next, spread each pipe cleaner out evenly into the shape of a star. Begin to thread your beads of choice onto each pipe cleaner. Ensure you leave about an inch of pipe cleaner showing on each end, so you have enough to twist your husks later.
When your pipe cleaner star is covered with beads, it’s time to shape your corn. Carefully bend each end upward, gathering the points together. Take the tops of your pipe cleaners and begin twisting them to secure the beads and create your husks.
5. Gratitude Tree
This craft is one of my favorites! I’ve done it many years with our children, but each year it looks a little different, which is why the supplies you need vary and are up to you. The idea is to create a place for family and friends to share what they are thankful for this year.
One year I made a tree and leaves out of craft foam, and everyone took turns throughout November writing one thing they were grateful for each day. By the time Thanksgiving came around, our tree was full of colorful leaves and reminders of how much we have to be thankful for.
Another year I grabbed an old vase I had sitting up in a cabinet and took the kids outside to gather small skinny branches to form our tree. Then I cut pieces of cardstock and punched holes to rope yarn through, and on Thanksgiving, all of our guests got to write down something they were thankful for and tie it around a branch. Not only was this a fun activity, but it made for a unique centerpiece at our Thanksgiving table.
6. Footprint Turkey
What you will need:
-Construction paper
-Paint
-Paintbrush or sponge
-Glue
This craft is a perfect one for a baby's first Thanksgiving or younger kids. First, choose your background paper. White works well for everything to stand out. Next, grab some brown paint and lightly paint with a brush or sponge the bottom of your child’s foot. Then you are going to make the body for your turkey with your footprint, be sure to have the toes pointing down.
Then cut out different colors for your turkey’s feathers (think eye or oval-shaped). Glue them around your footprint and give your turkey eyes and a nose. What a fun craft and keepsake to remember just how tiny your little one’s feet were! If your child’s footprint is small, you could do the opposite and use construction paper for the turkey’s body and footprints for the feather. After painting your baby’s feet, you would make several footprints (toes facing up this time) around the turkey’s body.
Another fun idea would be to do this every year and see how much your kids have grown from year to year. Eventually, you would have enough footprint turkeys to cover your fridge.
The point of these crafts is not to feel like you have one more thing on your to-do list. It’s simply to gather around the table and get creative. It can be easy as the holidays near to feel overwhelmed and wonder how we will get everything done. Sometimes it helps to stop and invite peace. “And let the peace of Christ rule in your hearts, to which indeed you were called in one body. And be thankful.” Colossians 3:15
Photo Credit: ©iStock/Getty Images Plus/Natalia Bodrova


