“What are you planning to do with all of these?” my husband inquired, staring at the numerous cartons of eggs. Holding my 6-month year-old-daughter, I informed him that we, my daughter and I, would decorate Easter eggs. Perhaps I was too eager to include her in one of my favorite springtime activities.
I’ll never forget the first time I waited impatiently as the colorful tablet fizzed in the sour-smelling vinegar. Meticulously planning out my designs, my hands shook as I dipped the aluminum dipper in the bright liquid. Watching the eggs progress from light to dark shades, I squealed with delight.
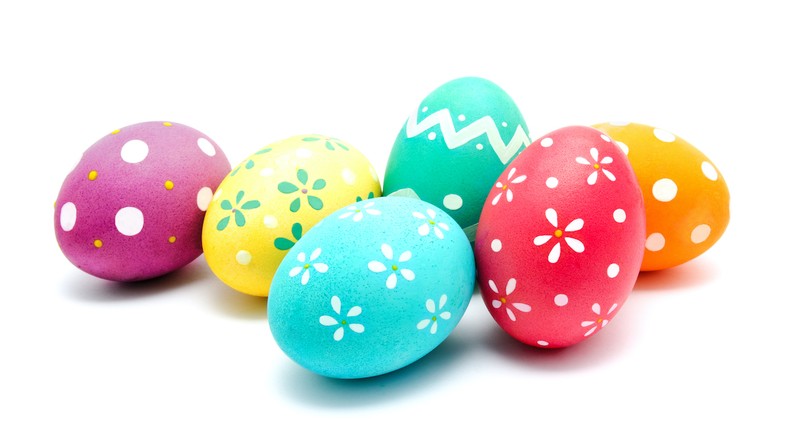
Thirty years later, I still get excited when the weather warms and flowers bloom, welcoming spring and Easter celebrations. These days, there are numerous options for decorating Easter Eggs. Here are 7 ways to decorate “eggcelent” Easter Eggs:
Photo Credit: ©SvitlanaMartyn
Preparing the Eggs
It’s essential to prepare your eggs before you begin decorating. Hard boiling is better if you plan to use eggs in a hunt or have small children. They are less likely to break during decorating. Blown eggs are preferred if you desire to keep your eggs for an extended time. Blown eggs look great hung on trees and garlands. Blown eggs can also be saved for next year if they are correctly stored.
How to Boil an Egg:
Place eggs in the bottom of a pan; do not overcrowd.
Fill the plan with water, covering the egg about an inch.
Bring the water to boil.
Cook for 12-15 minutes.
Using a slotted spoon, transfer the eggs to ice water for 10 minutes.
Gently tap the egg to make sure they are fully cooked.
How to Blow out an Egg:
Unbend a paperclip shaping into a line.
Poke one end of the egg and pierce the paperclip to the other side.
Using a syringe bulb squeeze the inside contents into a bowl.
Clean out the eggs with a mixture of water and bleach.
1. Traditional Dye Method
There’s nothing wrong with grabbing a dye kit from the store. Long gone are the days when you only had one option. On a recent trip to the store, I spent nearly half an hour combing through all the color options, primary, rainbow, neon, unicorn, and tie-dye are just a few. When working with any type of dye, it is wise to use disposable gloves to protect your hands. Nothing is more embarrassing than showing up on Easter Sunday with hands that match your dress.
2. Tissue Paper-Dying Method
Grab a few bleeding tissue paper sheets, rubber bands, coffee filters, white vinegar, and plastic cups. I recommend hygloss bleeding tissue paper. This brand is crucial as their paper produces vibrant colors.
1. Cut the tissue paper into 6-inch squares.
2. Take 2 or 3 different colors and wrap them around the egg. For a textured look, crumple the tissue paper before wrapping the egg.
3. Wrap the covered egg in the coffee filter and secure it with a rubber band.
4. Fill a cup halfway with white vinegar and fully submerge the egg.
Then:
5. Let the egg dry (on a wire rack, preferred) overnight.
6. Unwrap the egg and discover your unique design.
3. Naturally Dyed Easter Eggs
If organic is your preference, try these naturally dyed Easter eggs. I have listed a few recipe ideas below, but you can see a complete list of options here. Add one quart of water and two tablespoons of vinegar to a bowl for each color. Expect the colors to be lighter and less consistent.
For a soft red look, use 4 cups of chopped cabbage. If you prefer a subtle yellow hue, use 3 tablespoons of turmeric.
4. Shaving or Whipped Cream-Colored Eggs
Are you looking for a way to make dying eggs even more fun? Who doesn’t love the idea of swirling around in whipped cream? You can use either shaving cream or whipped cream; the effects are the same. However, if you use whipped cream, it makes licking your fingers a tasty treat.
1. Soak your hard-boiled egg in white vinegar for 10 minutes.
2. Dry your eggs and set them aside.
3. Spread out the cream on a baking sheet.
Next,
4. Using food coloring, place drops of dye over the whipped cream.
5. Take a knife and swirl the colors to create a tie-dye effect.
6. Roll eggs around in the mixture and let stand for 10 minutes.
7. Rinse eggs in cold water.
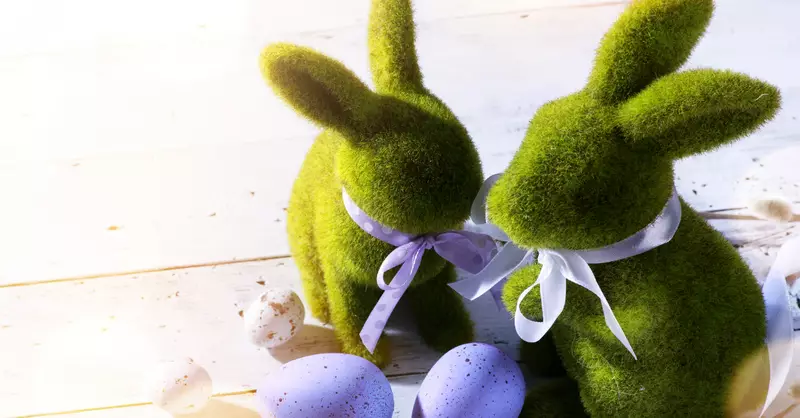
Photo Credit: ©GettyImages/Konstanttin
5. Vintage Eggs
Are you looking for a way to finally use all those spare buttons? What about those pretty spring flowers you see popping up all over the yard? Consider using these unique to give your house a shabby chic Easter vibe.
Grab your hot glue gun and place assorted buttons on your eggs. You can choose random buttons you have laying around your home or you can purchase buttons of the same color from the store. However, different sizes create a more eclectic look. (If you want the eclectic look but don't have a swath of buttons at home, don't be afraid to check out your local thrift store!) Place a dab of glue directly to the egg, and be careful not to push too hard if you use a blown egg.
Using a glue stick, slather the egg. Gently place small flowers, dried ones are best, all over the egg. Your placement can look random or offer a distinct pattern. Either way, feel free to let your personality shine!
Decorate with burlap and lace. Create different designs by varying the thickness of the ribbon. Be sure to stick the burlap to the egg first, then lace if using both. A hot glue gun ensures the ribbon will stick.
Nab an old magazine or newspaper from your junk drawer or local antique shop. Cut out images and glue them to your eggs for an old-fashioned vibe using decoupage glue.
Are you feeling extra crafty? Pick up your knitting needles and crochet an egg bag.
6. Hodgepodge Easter Eggs
Have you ever purchased one too many packs of glitter, books of stickers, or art sets on sale at Hobby Lobby (hand raised over here)? Don’t worry, we can put those art supplies to good use.
1. Set up a glitter station. Pour different color glitters into small plastic containers. Coat eggs with glue, ensure it dries clear, and roll in the glitter.
2. Stickers are a great way to decorate eggs; they are mess-free and suitable for all ages.
3. Make egg monsters by gluing pom-poms, googly eyes, and pipe cleaners to the eggs.
4. Replicate your family by decorating eggs that look like your family members. Fabric scraps, scrapbook paper, and ribbon can be used to make clothes. Straw, cotton balls, and string are all great for hair.
Also:
5. Don’t forget the trusty crayon and marker. Most of us have these laying around the house, offering an inexpensive way to let your creative side shine by using materials in your home.
6. Fashion popsicle sticks into tiny houses, beds, and cars for your eggs. Create an egg village for your egg family.
7. Paint your eggs with watercolors or acrylics. Both are great options for decorating personalized Easter eggs.
7. Memory Easter Eggs
An easy way to include relatives who have passed away or are no longer with us is to create memory Easter eggs. There are no limits to crafting options here, as the main purpose is to decorate the eggs with old photos, art supplies, and colors that remind you of someone you love and miss. This is a creative way to ensure that all family members are together to celebrate Easter.
No matter the method you use to decorate your eggs, the enjoyment of spending time with your family creating memories will be cherished for years to come. Blown eggs can last for years. Just remember, if planning to use them again next year, wrap them carefully in tissue paper and store them in a box. Dyed and some decorated hard-boiled eggs can be eaten, but you want to ensure they are not exposed to heat. It is recommended not to eat hardboiled eggs if they sit out for more than 2 hours or 1 hour above 90 degrees Fahrenheit. So, it’s probably best to reserve your decorated batch for hunting and decoration on Easter. Hoppy decorating!
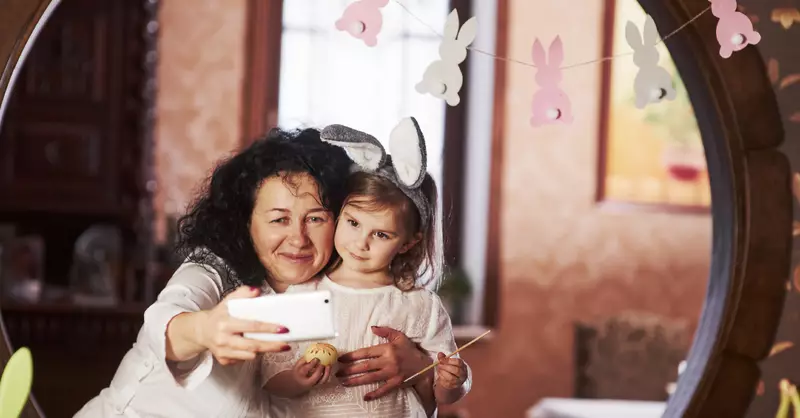
Photo Credit: ©GettyImages/standret

She lives in Upstate South Carolina with her husband and three young girls, where she serves as director of women's ministries at her church. Her passion is teaching the Bible to women, equipping them to live with an eternal perspective. Invite Laura to speak at your next event or learn more: www.LauraRBailey.com
Originally published Friday, 18 March 2022.


